DIY Door Mat
- Noell Jett
- Aug 27, 2018
- 2 min read
Have you seen the “stacked door mat” look? I have always loved the way it looked but had not taken the time to get one yet. I’ll be honest, our build is absolutely consuming our lives right now and finding time to homeschool, clean, cook and spend time with the kids is hard enough nonetheless decorate our current house for the seasons! However, knowing each season is our last in this house brings out the sentimental side of me and makes me want to make the most of it! So last week I busted out the fall decor! I may or may not have been hoping that cool weather would come if Mother Nature saw pumpkins on my porch but it has not worked yet! As I searched for a custom fall rug, the cheapest one I saw was $30, which is not horrible but I kept remembering the $4.99 rug I had seen at IKEA a couple weeks ago and wondering if I could just make a custom rug out of one of those!

I decided to make it in Microsoft Word so that anyone could make one! You don’t have to own a Cricut or Silhouette! I downloaded ‘Spring Time’ font fromFontSpace and with portrait orientation on my Word document I increased my font size to 400 and set my margins at: top 1.5, bottom, .38, left 2.06, right .5 but you may have to play with yours to make sure your letter fits properly when you go to print it. It may look like some of the letter is cut off on the screen but when you choose ‘File’ then ‘Print’ you will see that the whole letter is showing.

I printed this on heavy card stock and then cut out my stencil by hand with scissors. I used tape to connect where I had cut.

From this point on, you need to be outside working on a protected surface. For me this was a piece of plywood set on top of some pallets. I then took Elmer’s adhesive spray and coated the backs of my stencil and placed them centered on my rug. I placed bricks on top of it and let it dry for about an hour. When you remove your blocks, make sure your stencil is firmly connected to the rug in all areas to prevent bleeding. I then protected the rest of my rug with card stock and tape.

You are now ready for paint! We chose to use spray paint but I did see where some people use paint and a paint brush if you would rather use that! Due to the dense, coarse texture of the rug you need to make sure you use plenty of paint! We applied four, light even coats allowing it to dry about 10 minutes between each coat. After your last coat, let it dry about an hour before you remove your stencil.
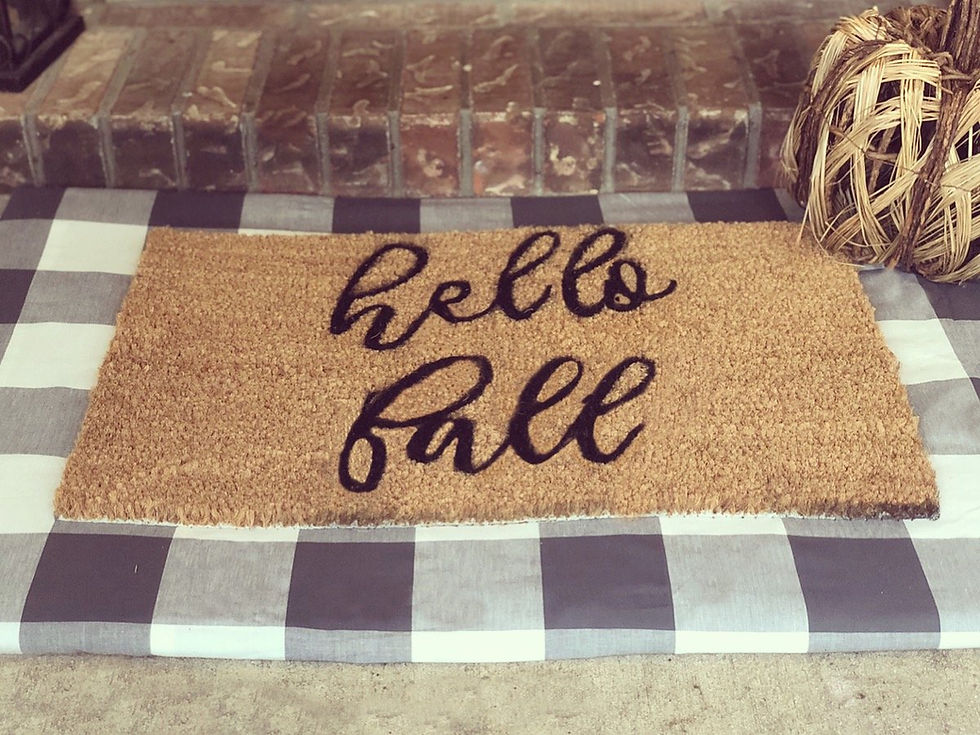
Remove your stencil and admire your rug! For $4.99 plus supplies I already had around my house, I have a brand new custom door mat! I could have used my Cricut but I wanted to show that you could make this without any fancy tools at all so anyone can make it!
https://www.ikea.com/us/en/catalog/products/40399045/


Comments